Restoring a Rusty 1957 Chevrolet Bel Air to Original Condition
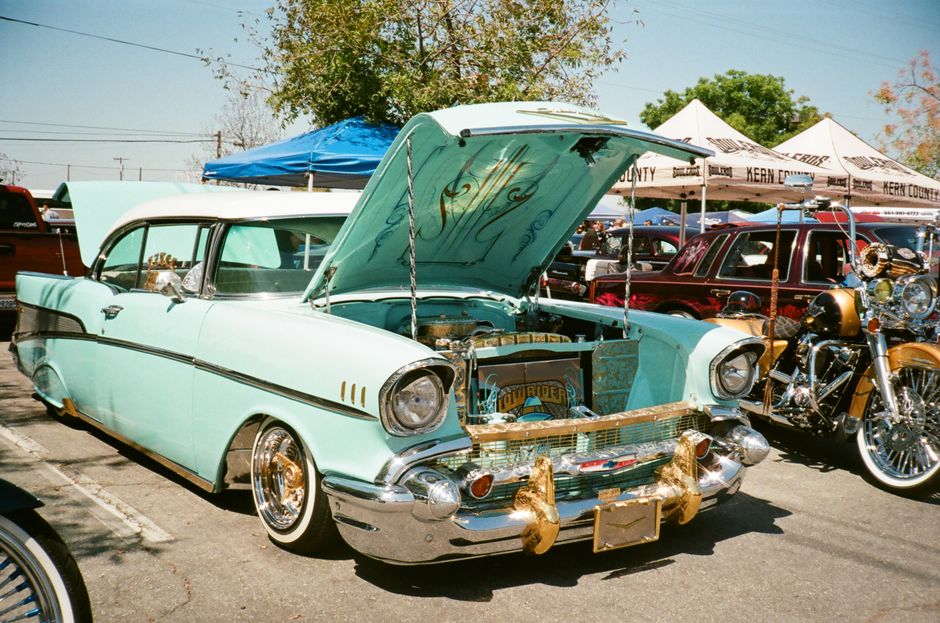
Restoring a neglected 1957 Chevrolet Bel Air to its original condition is a process that demands patience, technical knowledge, and respect for the vehicle’s original design. This iconic American cruiser, with its distinctive tailfins and chrome accents, presents a rewarding challenge for any enthusiast. The work begins with a thorough assessment of the car’s condition, followed by careful disassembly and documentation. Each stage, from metalwork to mechanical overhaul, requires attention to detail and a commitment to period‑correct methods. The following sections outline the typical sequence of operations involved in such a project, offering insight into the decisions and techniques that guide a comprehensive restoration.
Before any physical work begins, it is essential to establish a clear plan. The car’s existing state must be evaluated, noting areas of rust, structural damage, and missing or non‑original components. Photographs and written records help track progress and ensure that nothing is overlooked. Once the scope of work is understood, the vehicle is carefully stripped down to its bare shell. This stage allows access to every panel, seam, and mechanical element, providing a clean slate for the restoration steps that follow.
Assessment and Disassembly
The first phase of a restoration involves a detailed inspection of the body shell, chassis, and all mechanical systems. For a car that has spent years exposed to the elements, rust is often found in the lower door skins, rear quarter panels, floor pans, and the boot floor. The frame should also be examined for corrosion, particularly near the suspension mounting points. Documenting every affected area helps prioritise repairs and ensures that no hidden damage is overlooked later. At this stage, original trim, glass, and interior components are removed and labelled for reuse or reference.
Disassembly is carried out systematically, with each bolt and fastener stored in clearly marked containers. Many original parts, such as the chrome bumpers, grille, and dashboard components, can be refurbished rather than replaced, provided they are not severely pitted or bent. The engine, transmission, and rear axle are removed after draining all fluids. The wiring loom is carefully extracted, noting the routing and connections for later reassembly. Once the body is stripped to a bare shell, it is placed on a rotisserie for easier access during metalwork.
Panel Replacement and Metalwork
With the shell exposed, the extent of rust damage becomes fully visible. Panels that are beyond repair, such as the lower rear quarters or floor sections, are cut out using a plasma cutter or angle grinder, leaving clean edges for welding. Replacement panels should be sourced from reputable suppliers offering steel stampings that replicate the original contours. In the United Kingdom, several specialists produce panels specifically for the 1957 Bel Air, including full quarter panels, door skins, and inner wheel arches. Each panel is test‑fitted before welding, with adjustments made to ensure proper alignment.
Welding is performed using a MIG welder with a gas shield, and all joints are ground smooth. Areas that are structurally critical, such as the front inner wings and chassis legs, receive particular attention. Where possible, original spot‑weld patterns are replicated to maintain factory‑correct appearance. Once all panels are in place, the entire shell is treated with an epoxy primer to seal the metal. Any remaining minor dents or imperfections are addressed with lead loading or a thin skim of filler, always aiming for the original body line definition.
Paint Matching and Finishing
Choosing the correct colour for a 1957 Bel Air restoration is an important decision. Original shades such as India Ivory, Sierra Gold, and Matador Red were available, and many owners opt to return the car to its factory specification. Paint matching begins by consulting the vehicle’s trim tag, which lists the original colour code. A paint supplier can then mix a modern urethane‑based paint that matches the period hue while offering improved durability and UV resistance. For a concours‑quality finish, the car is painted in a two‑stage process: a colour coat followed by a clear coat.
Before painting, the shell is again primed and block‑sanded multiple times to achieve a perfectly flat surface. The paint is applied in a temperature‑controlled booth, with careful overlapping passes to avoid runs or dry spray. Complex areas, such as the fins and the inside of the engine bay, are painted first. After the colour coat cures, a clear coat is applied to add gloss and protection. Finally, the painted panels are wet‑sanded and buffed to a deep mirror finish. The door jambs, boot lid, and bonnet underside are painted separately to maintain authenticity.
Engine Rebuild and Mechanical Systems
The original engine in the 1957 Bel Air is typically a 283‑cubic inch (4.6‑litre) V8, often paired with a Powerglide automatic transmission. A period‑correct rebuild involves dismantling the engine completely, inspecting the cylinder block, crankshaft, and connecting rods for wear, and machining the surfaces as needed. Standard bore dimensions are retained where possible, and original‑type cast‑iron pistons are used. The cylinder heads are rebuilt with new valves, guides, and springs, and the camshaft is replaced with a mild profile that replicates the factory specification.
During reassembly, all fasteners are torqued to manufacturer specifications, and gaskets are selected for their compatibility with modern fuels and coolants. The carburettor is rebuilt using a period‑correct four‑barrel unit, and the ignition system receives a new distributor with points and a condenser. The engine is run on a test stand before installation to verify oil pressure, coolant flow, and compression. The transmission and differential are similarly overhauled, with new seals, bearings, and friction plates. Brake systems are converted to a dual‑circuit master cylinder for safety, though original‑type drum brakes are retained at all four corners to maintain authenticity.
Interior Reassembly and Final Detailing
With the body painted and the mechanical components refreshed, the final assembly begins. The interior is fitted with upholstery that matches the original patterns and materials. For a 1957 Bel Air, this typically includes a two‑tone vinyl or cloth bench seat, a colour‑keyed dashboard, and woven floor coverings. Seat frames are re‑padded and covered by a specialist trimmer, and door cards are replaced with reproduction items that feature the correct stitching and chrome accents. The headlining is installed carefully to avoid wrinkles, and the carpet is cut to fit the transmission tunnel and footwells.
Electrical work includes re‑installing the refurbished wiring loom, fitting a new battery and alternator, and testing all lights, gauges, and switches. The chrome trim, grille, and bumpers are polished and fitted with new stainless steel fasteners. Glass is replaced if scratched or delaminated, and new rubber seals are installed around windows and doors. Once everything is assembled, the car is aligned, the engine is tuned, and a short road test is performed to assess handling, braking, and driveline behaviour. Any minor adjustments are made, and the car is then prepared for its first showing.
The process of restoring a rusty 1957 Chevrolet Bel Air to original condition is a lengthy undertaking that rewards methodical work and a deep appreciation for automotive history. Each step, from the initial disassembly to the final polish, contributes to preserving a piece of motoring heritage. While no two restorations follow exactly the same path, the principles of careful planning, skilled metalwork, and respectful mechanical rebuilding remain constant.